Work with workflows
Build a scenario from agents, conditions and approvals that runs by itself.
A workflow is a graph of steps on a canvas: a trigger, agents, conditions, approvals and an output. It runs in the background: by hand, on a schedule or when something calls its address.
Workflows are on the web and in the desktop app. They are not on phones yet.
Creating one
- Open Workflows and select New workflow.
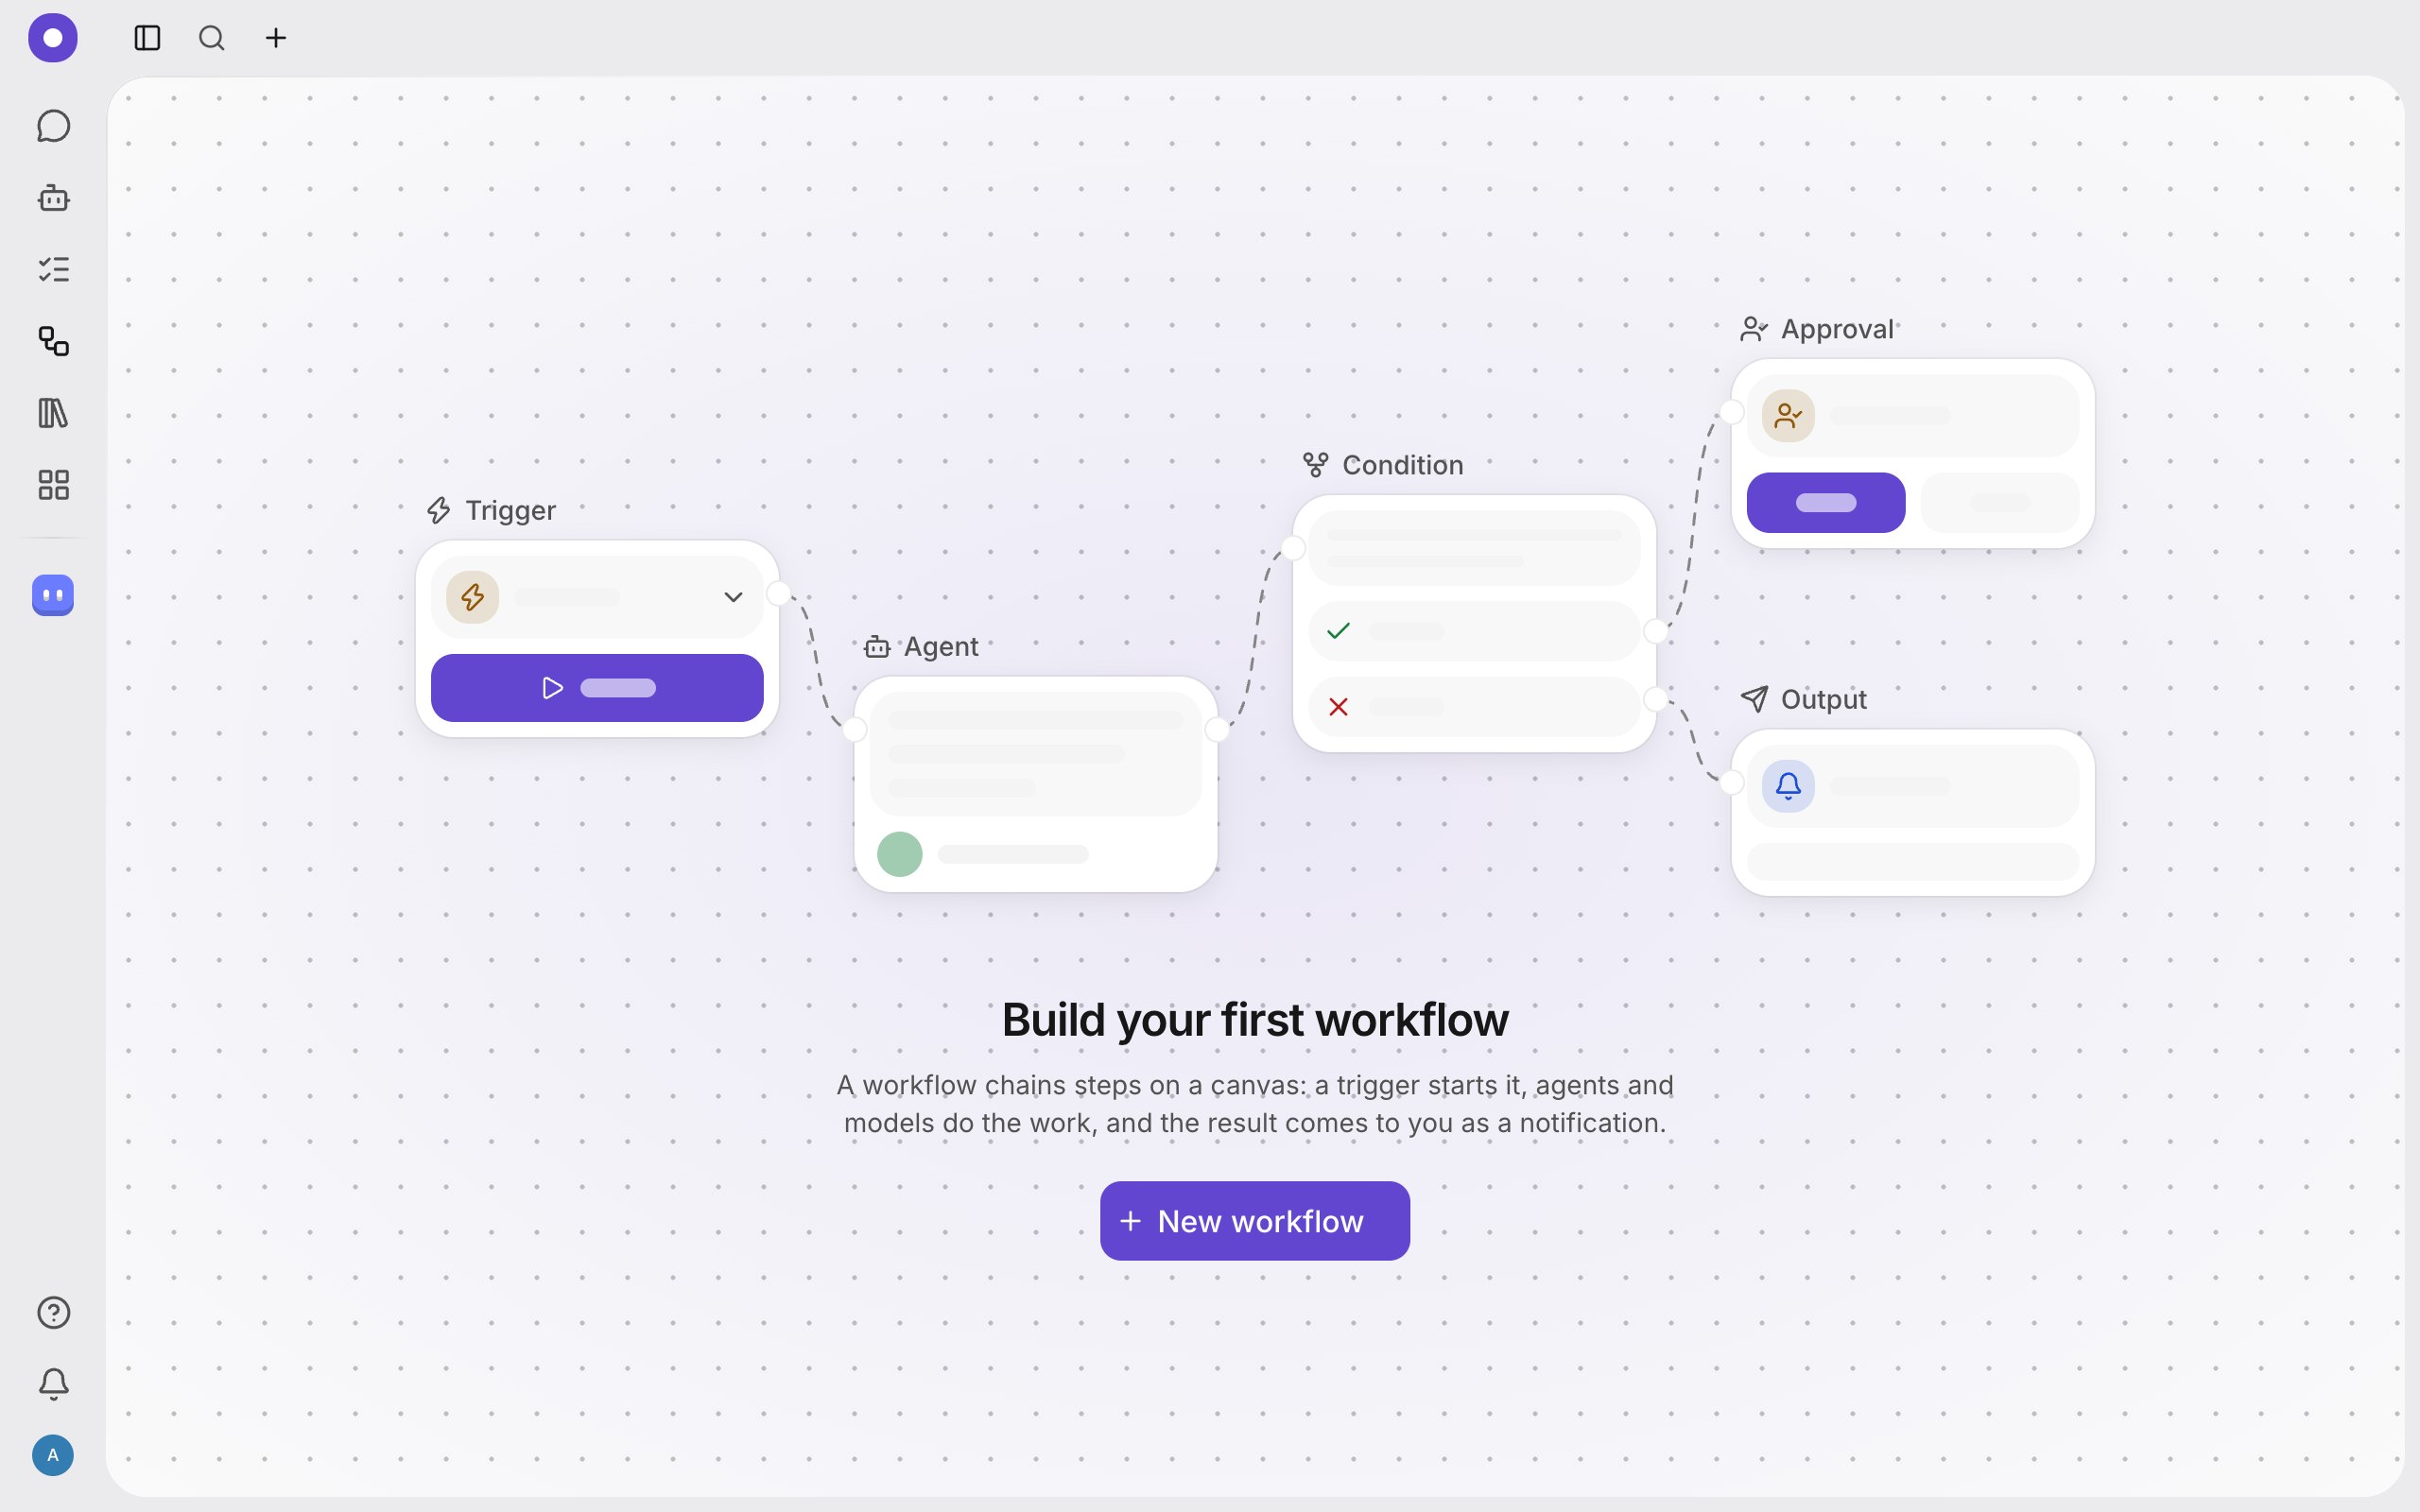
- Add steps to the canvas and join them with links: data flows from one step to the next.
- Fill in each step (choose an agent, write a prompt).
- Select Run.
Steps
| Step | What it does |
|---|---|
| Trigger | The start of the workflow. At most one per workflow. |
| Prompt | A fixed text that starts a branch. |
| LLM | One model call, no tools. |
| Agent | An ordinary task of the chosen agent, with its tools and credits. |
| Condition | A model answers Yes or No about what came in, and the run follows that branch. |
| Approval | The run waits until you approve or reject. |
| Output | Sends you a notification with the result. |
Several links may leave one step, and several may enter one. Cycles are not allowed.
How it starts
In the Trigger step choose a type:
- Manual: it starts when you select "Run".
- On a schedule: it runs at the set time, like a schedule.
- Webhook: it runs when an outside service sends a request to its address.
Runs
Each run keeps a copy of the graph and what every step received and returned, so later edits never spoil the history. Statuses: queued, running, completed, failed, needs you, cancelled. A single step can be run on its own without running the whole workflow.
If a scheduled run fails three times in a row, the workflow pauses itself.
Tips
- Start with two or three steps and add more once the first ones work.
- Put an Approval step before any action with consequences.
- Agent steps spend credits just like ordinary tasks.